Bespoke Storage
Digital Plans / File - CFMoto Uforce 1000 windscreen / windshield - CNC file
Digital Plans / File - CFMoto Uforce 1000 windscreen / windshield - CNC file
Couldn't load pickup availability
Unlock significant savings by purchasing this ready-to-use CNC file for your Uforce build project. This digital template package is specifically engineered for select Uforce models, giving you the precision cuts and specifications needed without the premium price tag of pre-made alternatives. Download instantly and start fabricating your custom windscreen solution today.
UForce 1000 EPS
UForce 1000 XL
UForce 1000 Hunter
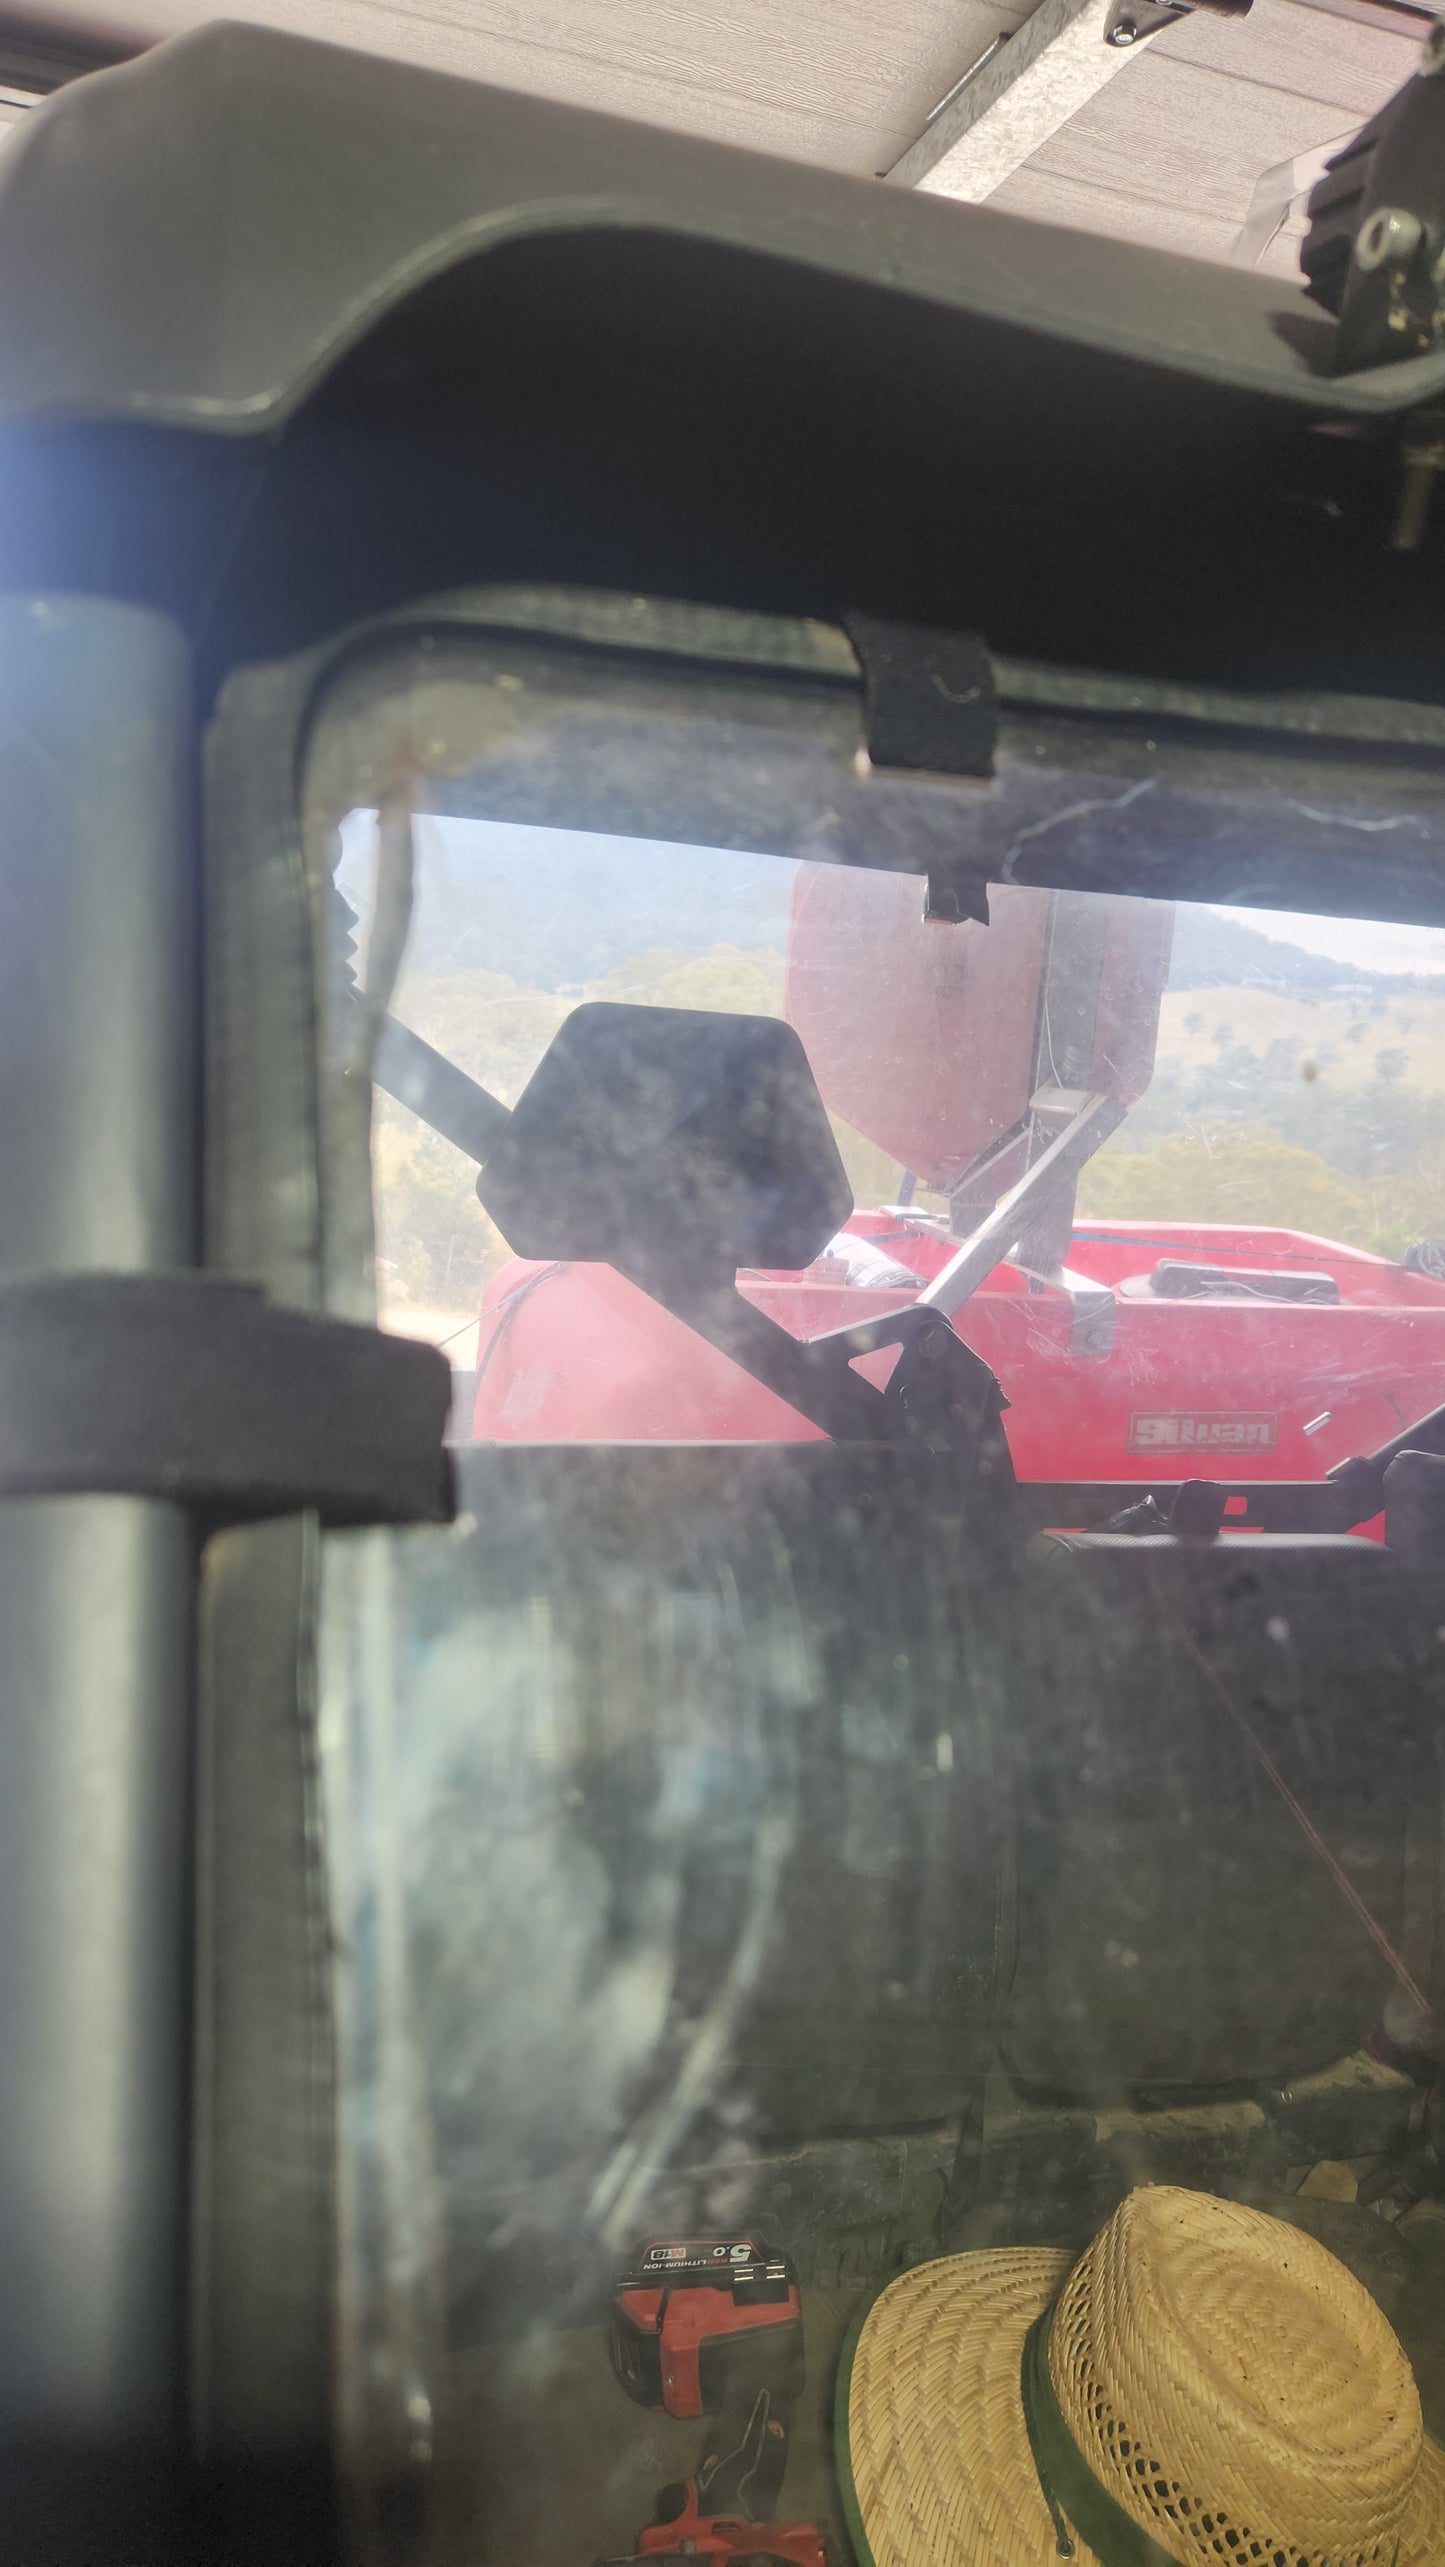
These screens are held in place with 25mm velco 'hook and loop' straps. (very economical and easy to source in hardware stores.) This system has been in use for a number of years on my own buggy and has proven to be an excellent means of securing windscreen. The added advantage is simple removal and storage of the windscreen if needed.
Long term test results
- 6 years running with this system for farm usage - findings:
1 - Intermittent Rattle with the Front screen - Windscreen during initial testing would rattle at times by outward flexing directly under the mirror. The simple fix was to place two strips of foam tape in the centre on top of each other. The top strip was around 300mm, and the bottom strip was around 600mm. This stopped the rattle and has not been an issue since.
2 - Rear Windscreen - During install I found that the windscreen would likely 'rub' against roll cage in spots - The simple fix was to place small sections of adhesive foam tape in points of contact.
3 - Velcro Ties - Upon install there was one strap that came undone - However, over the range of time that the screens have been in use, it was the only one that came undone. We have also transported the buggy multiple times on a car trailer with no adjustment to either screen. The 25mm ties have vastly exceeded what I thought they were capable of.
Material choice-
The recommendation from my use is to go 1/4" polycarbonate. I used lexan (premium product) and am extremely happy with the performance.
Front windscreen size 1500 x 820 (leaves enough material to fix to the CNC bed)
Rear windscreen size1480 x 620 (leaves enough material to fix to the CNC bed)
J mould - I used J mould on the edges for the front - and used the 4mm wide section as I could not source 6mm at the time (COVID). My recommendation would be to get the larger and make the join of the J mould at the BASE of the front windscreen (out of sight).
Suggested material size as follows (there is allowance for clearance for fixing material to the CNC bed )
windscreen 1500 x 800
rear 1480 x 620
Machining tips as follows :
UForce 1000 screens - designed by Bespoke Storage
Thank you very much for your support in regards to the digital files - Expections are these are for home use and non-commercial use. The files are also not to be shared. If you are keen for commercial usage - please advise me accordingly as I have a range of files under development for just this purpose and available for a very economical monthly fee - based on your needs in regards to the range of files that I have developed. I would also be undertaking to keep my commercial customers updated with the newest designs as I continually seek improvements.
The files :
There are two main templates - one for the front and another for the rear.
There is just enough space for Jmould to clip onto the outside of these templates.
Machining :
Tool path order for CNC machining is as follows :
1 - Machine all internal cuts first - the slots for the straps.
2 - Machine external profiles next - make sure to add tabs to keep material in the one spot and prevent tool breakage.
Tools -
Cutting guide as follows :
3.173mm cutter (upcut - 1 flute)
0.5mm cut depth
10000 RPM s
feed rate 2000 mm / minute
Assembly.
Please read to make sure that you dont get tempted to place a screw where it will be visable.....
1. J mould on first - BUT recommend placing join at the BOTTOM of the screens
2. single sided foam tape - place two strips of foam tape in the centre on top of each other - place this onto the frame of the buggy - not onto the polycarbonate sheeting. This will flex the windscreen more, and stop some intermittent rattles from the windscreen.
3. Place small sections of adhesive foam tape in points of contact - place these onto the black steel roll cage of the buggy.
4. 25mm Velcro ties. Place these through the slots - these will be tight to get through - make sure to monitor these over the next few hours of use - remember that I had one that became undone - I believe that I did not fully contact Velcro sections together on this strap. It has not come loose in the following 6 years.
Note: I designed the screens to be easily removable - but once they were on, I have not removed them.
Please let me know if you have any suggestions or issues.
kind regards
Rob Mendham
email -
info@bespoked.store.
youtube -
http://www.youtube.com/@BespokeStorage-lt2hu
Facebook
facebook.com/profile.php?id=100064221545048&mibextid=ZbWKwl
Instagram
instagram.com/bespoke__storage
website
bespoked.store
Share